
After roughing out the chair parts I had to get back to the craftsman sofa project.
That project was hung up on the finishing stages. So many pieces and nearly every surface is a show surface. Spraying finish is a huge waste of finish for the most part. It’s fussy and I don’t really have a place to do it. On the rare occasions I feel I need to lacquer something, I use rattle cans and do it outside on a good day.
The finish schedule for the sofa was a coat of dark brown oil-based stain, wipe down, dry overnight. Then two coats of amber shellac, dry for at least several hours. A light sanding with 220 and a (hopefully) final coat of shellac. Some percentage of parts need additional attention due to drips or runs. With over 50 components, this takes time. And a lot of space in my small shop.
On days I couldn’t face more shellac, I worked on chair parts. Almost all the parts are rectangles, so it goes pretty quick. Poplar planes and sands nicely, and the boards are light enough that I can throw them through the planer by myself even at 9′-10′ long.
After the legs, the top and bottom back rails are next. These are rectangles with grooves (dados) plowed in one narrow edge to accept the back board panel. The front rail of the seat is the same. The dados were plowed on the table saw with a dado stack at 3/4″.
The leg stretcher wants to be a roughly 3″ thick octagon. For this chair, the size/shape of the stretcher is unimportant. The length is the only critical dimension. It does have to be large enough to accept strong enough pins for the legs, though. So, this is a glue up from some 6/4″ stock that’s close to 3″ wide. Once dry, I dimensioned it on the table saw and took it to the router table to make the octagonal profile.
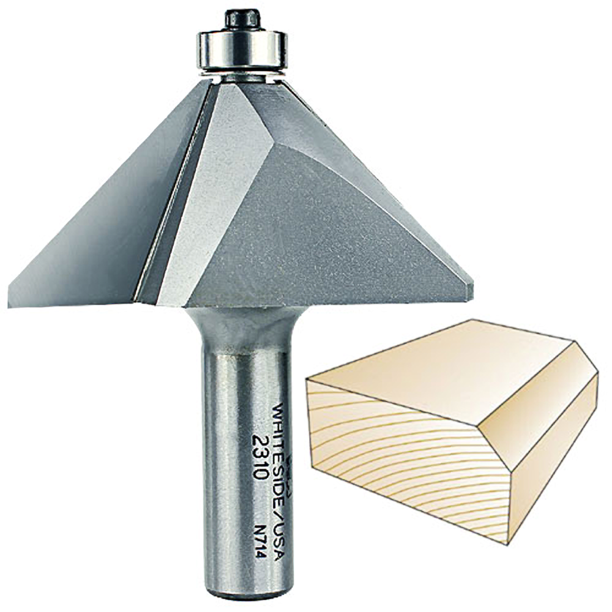
I have a large, somewhat scary 45 deg chamfering bit that lives in the router table router 95% of the time. A chamfer is a great way to ease an edge which both protects your fingers from what might be a pretty “crisp” corner as well as keeping that corner from being bashed up and turned into a splintery mess that wants to extract even more blood. From an aesthetic point of view, chamfers are far superior to rounding the edges over. Functionally the same, but that facet gives the edge some interest. So, I use this a lot.
Yeah, turning a 3×3 block into a right regular octagon 1/16th of an inch at a time takes a while. But, I am only making two, and switching the aftermarket zero clearance throat plate on the table saw for the cheesy stock one that allows the blade to tip over to 45 deg is a PITA. So, I cranked up the noise cancelling head phones with some new thrash metal I downloaded set high enough to drown out the dust collector and the 3HP router and knocked it out.
Sure, they all look more or less the same, but, you largely get what you pay for. The house brands at the big box stores are largely junk with low grade carbide cutters the dull and chip. If you use the router in any serious way, I recommend two brands: Freud for most of your common profiles, and Whiteside for the ones you will use all the time.
There are other good brands, but these are ones I have personal experience with. They are reasonably priced, widely available and well made. You can sometimes get Freud at HD, but, of course, Amazon has all the profiles, and they bring them to you.
For profiles that get hard use, it’s worth the extra money to get Whiteside bits. They are the next level of fit and finish. Also mostly available at Amazon, but you can also pick them up at WoodCraft. That’s handy is you not quite sure about the profile or the size and would like to handle them before buying. And, hell, there are worse ways to kill an hour or two than in a WoodCraft store…
No pictures of these steps, they are obvious and boring enough I didn’t even pull my iPhone out of my pocket.
Previous | Project Home | Next