
This spring I reached that intersection of sufficient regard for those fiddly body parts and personal wealth such that I could afford to purchase a saw that was less likely to remove said body parts — a Sawstop Professional Cabinet Saw. These have been on the market for 20 years now and the technology clearly works. By disdain for them came in two parts: 1) they are very expensive relative to other table saws and until recently out of reach for me as a hobbyist. And 2) the inventor tried to get a government (OSHA) rule past requiring the technology on all newly manufactured table saws. Now, the guy spent a lot of money developing this tech and should get paid. But, a money grab at that level was unconscionable in my view. His attempt failed and in the last 20 years or so I got over it.
I have cut myself on my table saw twice, neither time seriously, but they would be what you’d have to call “warnings”. Both times I was tired and pushing to get something finished before knocking off for the night. That’s when accidents happen. Rookies don’t get cut on saws, they are scared and careful. Veterans, tired and inattentive get cut. Well after my January warning I began to seriously think about getting one. I just missed out on picking up a used one at a reasonable price ($2000) and after some consideration (and the arrival of my annual bonus check), I decided to just buy a new one and be done with it

In my shop, the table saw is a central item. Almost every project starts there or comes there after planing down from rough lumber. Therefore, a lot of infrastructure has grown up around the table saw. Stuff that’s all got to be dealt with, replicated or replaced in some fashion. This includes: a wheeled base (nothing can be static in a small shop), an outfeed table, crosscut sled, miter gauge, dust collection, wiring.
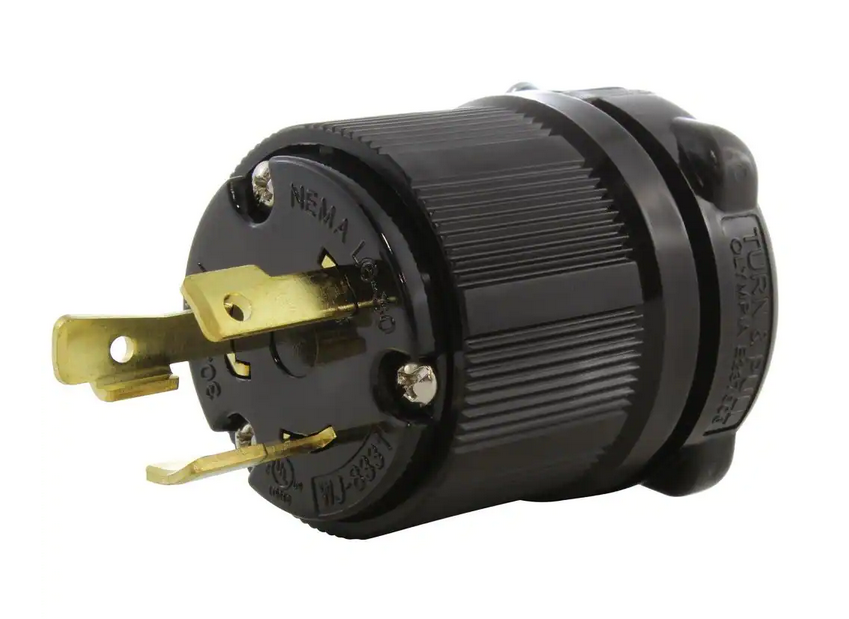
Taking them in reverse order, the departing Grizzly table saw, like most 220V and higher equipment, didn’t come with a plug. Since the power line was going to be in the ceiling, I chose a twist lock NEMA L6-30 plug/receptacle so it can hang. See the image to the left for what that looks like.
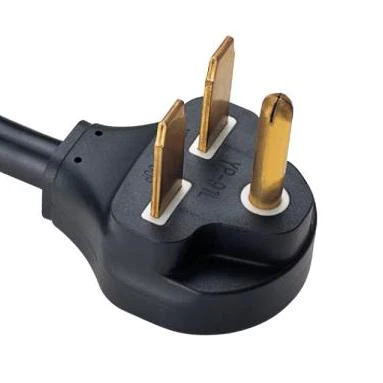
The Sawstop came with a plug because they are all about easy to install. I had a choice of cutting off their plug and installing the old one from the Grizzly or buying a new receptacle. I wasn’t ready to cut the plug off a $3400 saw just because. So, I got a new receptacle and a box. This wasn’t a locking plug and the lead was much shorter, so I needed to run the power down the wall to the 4′ level I use for receptacle and install it in the new box.
Whew, that’s just to plug the damn thing in. Luckily, the dust collection was actually easier. The Grizzly’s outlet was on the left, actually a little awkward for my shop. The Sawstop is out the back, so that’s nice. Both 4″ outlets, so no changes needed there.
The miter gauges worked fine, although there’s a story there (later). The cross-cut sleds, that’s another story. I have a large (side) sled that I made many years ago. I don’t use it much because it’s large and heavy and most of my cuts are small scale. I also recently finished a much smaller one, more in line with my needs. Since the miter slots on these machines are never in the same spot, the runners on both need to be moved. Not a big deal, though the Sawstop’s slot is a couple inches closer to the blade but it didn’t fall into an awkward spot on the sled, so that wasn’t too bad. The large sled remains unconverted at the moment. I haven’t needed it yet.

Moving on to the base. Sawstop has a “mobility kit” for its saws, but that’s just small wheels that attach to the cabinet. Not really what I need. The old saw had a rather too large platform it sat on, but the wheels were only 3″ and it had trouble rolling onto the rubber mats on the occasions I needed to reposition the saw. All my equipment is slowly being refit with 4″ wheels which work much better on the mats. Anyway, I took the opportunity to build a new platform with 4″ locking wheels and a smaller footprint. The old platform extended to the right all the way to the wall in order to also house a bunch of accessories.
Finally, the outfeed table. The old one worked fine, but of course, the slots don’t line up, so I had to build another one. Not a huge deal, but still took a couple of days to finish. However, at the end, a nice fully operational battlestation.
